Your hearing aids are designed to provide reliable hearing support, and many are water- and moisture-resistant, but at the end of the day, they touch your skin, sit inside your ear, and go where you go, so they frequently come into contact with earwax, moisture, oils, and everyday debris that can build up and potentially cause issues.
Cleaning your devices not only helps preserve your investment but also keeps your hearing aids performing as well as possible for as long as possible. Having a consistent care routine can also make it easier for a hearing aid specialist to spot potential issues early and keep your hearing aids in better condition between tune-up appointments.
Why Regular Hearing Aid Cleaning Matters
The most frequent culprit of poor performance and distorted sound is earwax. Some earwax is normal and unavoidable for a device that goes into your ear, but if it blocks the receivers, sound ports, microphone holes, or wax guards, sound cannot reach your ears clearly. Moisture from sweat, humidity, or rain can also interfere with the electronic components. Dust and debris can accumulate in any of the small openings, which can also cause poor sound quality.
Consistent hearing aid maintenance keeps them sounding clear by preventing buildup that interferes with how well your devices work. It can also make them more comfortable to wear, extend their lifespan, and prevent avoidable repairs caused by accumulated wax or debris. While routine cleaning can’t prevent everything, it can mitigate issues that come from wearing them every day.
Hearing Aid Cleaning Supplies You’ll Need
Having the right tools to clean your hearing aids will help protect their delicate components. Using household items or makeshift tools can cause scratches or do more damage than you might think.
Recommended Cleaning Tools
Your hearing aid cleaning kit should include:
- A soft cleaning brush
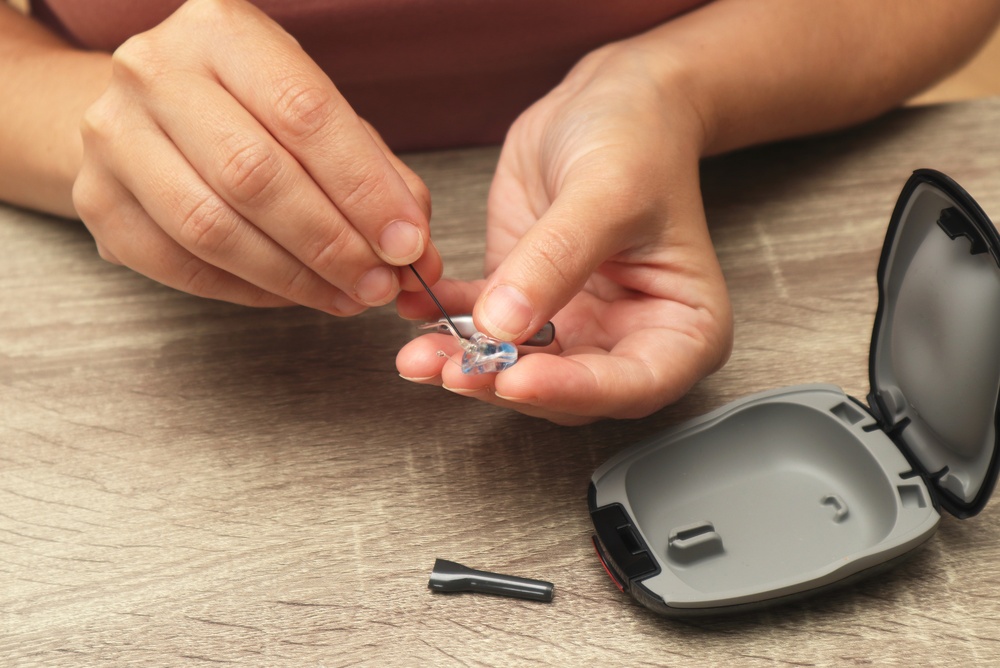
- A wax pick or cleaning loop
- A microfiber or lint-free cloth
- Manufacturer-approved hearing aid cleaning wipes
- A vent cleaner if your hearing aids have vents
- A hearing aid dehumidifier or drying cup
- Wax guard replacement tools
Using cleaning tools designed specifically for hearing aids makes routine maintenance more effective and safer to do yourself. If you notice damage or parts you can’t clean, setting up an appointment at your local hearing aid center will get you the replacement parts or repairs you need to get your devices working correctly again.
Daily and Weekly Hearing Aid Cleaning Routine
Following a regular cleaning schedule prevents buildup before it starts affecting how your hearing aids perform. Daily care keeps your hearing aids clean, and weekly maintenance gives you the opportunity to inspect your devices and their components more closely.
Daily Routine
Taking a few minutes a day to do a quick clean will keep your hearing aids performing their best. Remember to always handle your hearing aids with clean hands.
Daily hearing aid maintenance includes:
- Wipe the exterior with a soft, dry cloth.
- Gently brush away visible earwax and debris.
- Inspect the microphone openings and receiver for buildup.
- Wipe away any moisture or perspiration before storing your hearing aids.
- Make sure your devices are completely dry before placing them in the charger.
- Store your hearing aids in a cool, dry place overnight.
Weekly Maintenance
Once a week, take a few extra minutes to inspect your hearing aids more thoroughly:
- Check domes and earmolds for wax buildup and clean them.
- Clean vents using the appropriate vent cleaning tool.
- Inspect wax guards and replace them if they’re clogged or not letting sound pass through.
- Wipe the charging contacts on both rechargeable hearing aids and the charger.
- Look for signs of wear, loose components, cracks, or other damage that requires professional attention.
Cleaning Different Types of Beltone Hearing Aids
While the basic cleaning process is similar across most hearing aids, certain areas will need more attention, depending on the specific style you wear.
Receiver-in-Ear (RIC) Hearing Aids
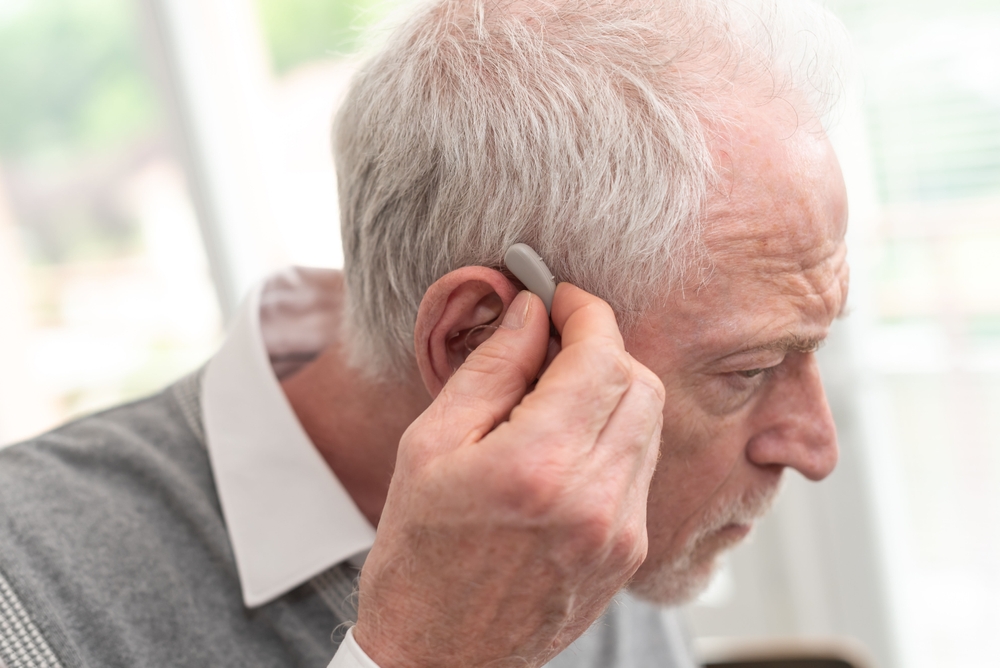
Because the receiver is inside your ear canal, this style of hearing aid is more likely to collect earwax. To clean your RIC hearing aids, you should gently brush away any visible debris from the receiver, wipe the dome clean, and inspect it for buildup or damage. If you use replaceable wax guards, check them regularly and replace them when necessary.
Behind-the-Ear (BTE) Hearing Aids
This kind of hearing aid has additional parts like tubing and earmolds that require regular cleaning and maintenance. Since they touch your skin, you need to clean the earmold, remove debris from the microphone openings, and inspect the tubing and hearing aid housing for moisture or wax buildup that might be affecting the sound quality of your hearing aids.
Custom In-the-Ear (ITE) Hearing Aids
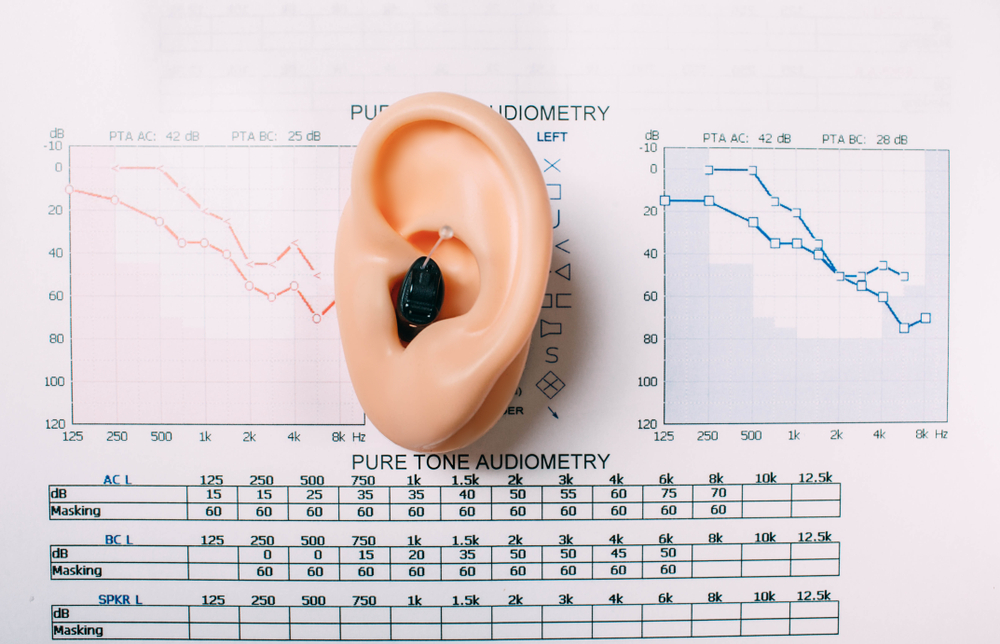
These personalized hearing aids are molded to fit perfectly inside your ear. They require extra care because they are prone to wax buildup. Use a soft brush to clean the shell, faceplate, microphone openings, and sound ports. You should carefully remove any visible wax, but avoid inserting cleaning tools too deeply into any openings so you don’t damage your devices.
Rechargeable Hearing Aids
Rechargeable hearing aids require additional maintenance to ensure they charge properly. It’s important to keep the charging contacts on both your hearing aids and charging dock clean and dry. Make sure to periodically inspect the charger for dust or debris and wipe it with a dry cloth to prevent anything from interfering with charging capabilities.
Common Hearing Aid Cleaning Mistakes to Avoid
Gentle cleaning is much safer for your hearing aids than trying to do a more aggressive clean after debris has accumulated. Learning what not to do is just as important as knowing how to clean your hearing aids properly.
Avoid these common mistakes when cleaning your hearing aids:
- Using water or soaking your hearing aids.
- Using household cleaners or alcohol that aren’t approved for hearing aids.
- Cleaning with sharp objects such as pins or metal tools.
- Skipping routine cleaning until buildup becomes noticeable.
- Ignoring earwax accumulation around receivers or sound ports.
- Waiting until sound quality declines before performing maintenance.
- Attempting to repair hearing aids yourself instead of seeking professional service.
Troubleshooting Common Hearing Aid Problems
Even with regular hearing aid maintenance, you’ll still occasionally notice changes in performance that will need to be addressed.
If Your Hearing Aid Sounds Muffled
If your hearing aids suddenly sound quieter or less clear, it might not be because they are malfunctioning. Reduced sound quality is typically caused by minor issues that can be resolved with some easy maintenance. The sound quality should return to normal after replacing your wax guard, removing visible buildup, or making sure nothing is blocking the microphone openings, but if it doesn’t, your hearing aids may need a professional inspection.
If Your Hearing Aid Isn’t Working Properly
If your hearing aids stop turning on, aren’t charging, or are working inconsistently, check if the battery is charged and installed correctly and make sure there’s no moisture or visible damage on your devices. If your hearing aids are rechargeable, make sure they’re in the charger correctly. You shouldn’t take your hearing aids apart or attempt to repair them yourself, that’s best left to the professionals.
When Professional Hearing Aid Maintenance Is Needed
At-home care is an important part of maintaining your hearing aids, but it doesn’t replace professional servicing. At your scheduled follow-up appointments, a hearing care professional will be able to do more extensive maintenance and deep cleaning on your hearing aid using specialized equipment.
If necessary, they can replace worn parts like receivers, tubing, domes, or other small parts to help keep your hearing aids working properly. If you’ve done your routine cleaning and your hearing aids still sound weak or distorted, it’s time to schedule a hearing aid repair appointment, especially since all Beltone hearing aids are covered under our BelCare service program.
Keep Your Beltone Hearing Aids Performing Their Best
By cleaning your hearing aids at home regularly, using proper cleaning tools, keeping them dry, and storing them properly between uses, you can reduce buildup and get more reliable performance. It also helps bridge the gap between routine tune-up appointments.
Whether you’re new to hearing aids or have worn them for years, your local Beltone Skoric Hearing Aid Center is here to help. If you have questions about hearing aid maintenance, need replacement accessories, or would like your hearing aids professionally inspected, find your nearest Beltone Skoric location to schedule an appointment.